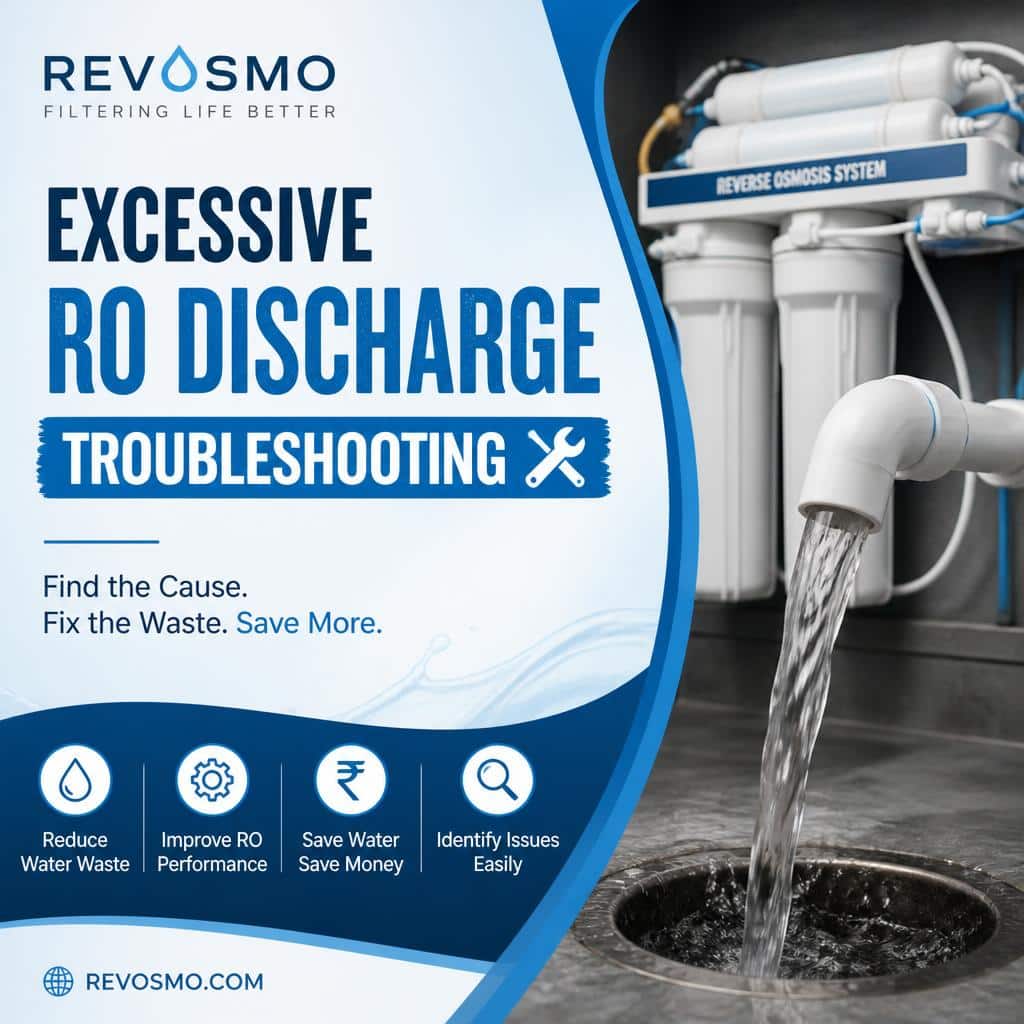
Excessive RO Discharge Troubleshooting: Reverse osmosis systems naturally produce some wastewater during the filtration process. While your RO system is making purified water, it sends concentrated water containing rejected contaminants to the drain. This means that some drain flow is completely normal.
However, continuous or excessive RO discharge can indicate a problem, especially when the storage tank is full and the system continues sending water to the drain.
In many traditional tank-based reverse osmosis systems, excessive discharge may be related to the automatic shutoff valve, check valve, storage tank pressure, flow restrictor, membrane condition, or another component that prevents the system from shutting down correctly. The U.S. Environmental Protection Agency notes that continual water discharge to the drain can be a sign that an automatic shutoff device requires replacement. (EPA NEEPA)
This guide explains how to identify normal RO wastewater, troubleshoot excessive discharge, and determine when a component may need professional service or replacement.
For additional maintenance and troubleshooting information, visit Revosmo’s complete Reverse Osmosis Maintenance Guide.
Important: RO system designs vary by manufacturer. Always follow your system’s owner’s manual and manufacturer troubleshooting instructions before adjusting, repairing, or replacing components.
Table of Contents
- Is RO Drain Water Normal?
- What Is Excessive RO Discharge?
- Why Does an RO System Send Water to the Drain?
- How to Tell if Your RO System Is Draining Too Much
- Common Causes of Excessive RO Discharge
- Step 1: Determine Whether the Storage Tank Is Full
- Step 2: Check Whether the System Stops Draining
- Step 3: Inspect the Automatic Shutoff Valve
- Step 4: Check the RO Storage Tank
- Step 5: Inspect the Check Valve
- Step 6: Check the Drain Flow Restrictor
- Step 7: Inspect the RO Membrane
- Step 8: Check for a Continuous Demand for Water
- Step 9: Inspect the Drain Line and Drain Connection
- Excessive RO Discharge Troubleshooting Chart
- Can Excessive RO Discharge Increase Your Water Bill?
- How to Prevent Excessive RO Wastewater
- When Should You Call a Professional?
- Final Thoughts
Is RO Drain Water Normal?
Yes. Some drain water is a normal part of the reverse osmosis process.
An RO membrane separates water into two streams:
- Product water: Treated water sent to the RO faucet or storage tank.
- Concentrate water: Water containing concentrated dissolved materials that is directed to the drain.
Therefore, hearing water flowing to the drain while your RO system is actively producing water does not necessarily mean something is wrong.
The important question is:
Does the RO system stop sending water to the drain when it should stop producing water?
For many traditional RO systems with a storage tank, the drain flow should stop after the storage tank reaches the appropriate pressure and the system shuts down.
If water continues flowing to the drain long after the tank should be full, the system may require troubleshooting. EPA specifically identifies continuous discharge as a potential sign of automatic shutoff device failure. (EPA NEEPA)
What Is Excessive RO Discharge?
Excessive RO discharge generally refers to one of two problems:
Continuous Drain Flow
The RO system continues sending water to the drain even after the storage tank is full and no water is being used.
Higher-Than-Expected Drain Flow
The system sends an unusually large amount of water to the drain while producing treated water.
The second problem can be more difficult to identify because RO systems naturally generate wastewater.
The expected amount of concentrate water depends on:
- The RO system design
- Membrane capacity
- Incoming water pressure
- Water temperature
- Feed-water quality
- Flow restrictor design
- System efficiency
For this reason, always compare system performance with the specifications provided by the manufacturer.
Why Does an RO System Send Water to the Drain?
Reverse osmosis works by applying water pressure to push water through a semipermeable membrane.
The membrane separates water into:
- Treated water that passes through the membrane.
- Concentrated water that carries rejected dissolved materials away from the membrane.
The concentrate stream is directed to the drain.
This process helps prevent excessive accumulation of dissolved materials on the membrane surface.
Some drain flow is therefore expected whenever the system is actively producing water.
The problem occurs when the RO system continues producing and discharging water when it should have stopped.
How to Tell if Your RO System Is Draining Too Much
Before replacing any components, determine whether the drain flow is actually abnormal.
Ask yourself:
- Is the RO system currently producing water?
- Has someone recently used the RO faucet?
- Is the storage tank still filling?
- Is the RO system connected to a refrigerator or ice maker?
- Does the drain flow stop after the tank becomes full?
- Has the drain flow continued for several hours without water use?
A refrigerator or ice maker can create ongoing demand for treated water and cause the RO system to continue producing water.
Manufacturers also recommend checking whether another connected appliance is drawing water before assuming the RO system has a malfunction. (North Star Water)
Common Causes of Excessive RO Discharge
The most common potential causes include:
- A malfunctioning automatic shutoff valve
- Incorrect storage tank pressure
- A damaged storage tank bladder
- A faulty check valve
- A missing or damaged flow restrictor
- An incorrect flow restrictor
- A fouled RO membrane
- Continuous demand from a refrigerator or ice maker
- Incorrect tubing connections
- A problem with the drain connection
The correct troubleshooting sequence depends on your specific RO system.
Step 1: Determine Whether the Storage Tank Is Full
For traditional RO systems, begin by checking the storage tank.
A full tank should feel significantly heavier than an empty tank.
If the tank is not full, the RO system may simply be continuing normal water production.
Before assuming the drain flow is excessive:
- Avoid using water from the RO faucet.
- Allow the system adequate time to produce water.
- Check whether the tank becomes full.
- Observe whether drain flow eventually stops.
Traditional RO systems can take several hours to refill a storage tank, depending on system capacity and incoming water conditions.
If the storage tank is full and water continues flowing to the drain, continue troubleshooting.
Step 2: Check Whether the System Stops Draining
Once the storage tank appears full:
- Stop using water from the RO faucet.
- Wait for the system to complete its filling cycle.
- Listen for drain flow.
- Inspect the drain connection if necessary.
If the drain flow eventually stops, the system may be operating normally.
If water continues flowing to the drain after the tank is full, the system may not be shutting down correctly.
This is an important distinction because normal RO production always creates some drain water.
Step 3: Inspect the Automatic Shutoff Valve
The automatic shutoff valve is one of the most important components to investigate when an RO system continues draining.
In tank-based RO systems, the automatic shutoff valve helps stop incoming water flow when pressure from the full storage tank reaches the appropriate level.
EPA explains that automatic shutoff devices reduce water waste by stopping the treatment process when the storage tank fills. A malfunctioning shutoff device can cause water to continue being discharged to the drain. (EPA NEEPA)
Signs of a Possible Automatic Shutoff Valve Problem
Possible symptoms include:
- Continuous drain flow
- The system never appears to shut down
- Water continues running after the storage tank is full
- Unusually high water consumption
What to Do
Because automatic shutoff valve designs vary between systems:
- Consult your owner’s manual.
- Follow manufacturer troubleshooting instructions.
- Use only compatible replacement parts.
- Consider professional service if you are unsure how to test or replace the valve.
Do not randomly adjust or bypass the shutoff system.
Step 4: Check the RO Storage Tank
A storage tank problem can prevent the RO system from reaching the pressure required to shut down.
Possible storage tank problems include:
- Low air pressure
- A ruptured internal bladder
- A closed tank valve
- An aging or damaged tank
Why Tank Pressure Matters
As a storage tank fills with treated water, internal pressure increases.
This pressure helps signal the system that water production should stop.
If the tank cannot maintain the correct air charge or pressure, the RO system may continue producing water longer than expected.
Checking Tank Pressure
Always follow your manufacturer’s instructions.
In general, storage tank pressure should be checked only when the tank is empty of water.
Different manufacturers specify different pressure ranges.
If water comes out of the tank’s air valve, this may indicate a damaged internal bladder and the tank may need replacement. (EcoWater Systems)
Important: Do not use a generic pressure specification as a replacement for your manufacturer’s requirements.
Step 5: Inspect the Check Valve
The check valve helps prevent water from flowing backward through the system.
If the check valve fails, pressure conditions within the RO system may be affected, potentially preventing the automatic shutoff system from operating properly.
Possible signs include:
- Continuous water production
- Continuous drain flow
- Difficulty maintaining tank pressure
- Water flowing in an unexpected direction
The location and design of the check valve vary by RO system.
Before removing or replacing a check valve:
- Shut off the water supply.
- Follow the manufacturer’s service instructions.
- Relieve pressure according to the system instructions.
- Confirm that replacement parts are compatible.
Step 6: Check the Drain Flow Restrictor
The drain flow restrictor controls the amount of water flowing through the concentrate line.
A missing, damaged, incorrectly sized, or displaced flow restrictor can cause abnormal drain flow.
Some manufacturer troubleshooting instructions specifically identify a missing flow-control insert as a possible cause of continual water flow to the drain. (Whirlpool Water Solutions)
Possible Flow Restrictor Problems
- The restrictor is missing.
- The restrictor has become dislodged.
- The wrong restrictor is installed.
- The restrictor is damaged.
- The component is not matched to the membrane.
Important
Do not install a random flow restrictor.
The flow restrictor must be appropriate for your specific RO system and membrane capacity.
Using an incorrect component can affect:
- System performance
- Water production
- Membrane life
- Water efficiency
Consult your manufacturer before replacing the flow restrictor.
Step 7: Inspect the RO Membrane
A heavily fouled or aging RO membrane can affect system performance.
Membrane problems may contribute to:
- Slow water production
- Reduced contaminant rejection
- Poor water quality
- Abnormal system operation
EPA recommends replacing filters and membranes according to manufacturer instructions because accumulated material can reduce system efficiency and performance. (US EPA)
Before replacing the membrane, consider:
- The age of the membrane
- Local water quality
- Filter replacement history
- Water production rate
- Manufacturer maintenance recommendations
Do not automatically assume the membrane is responsible for excessive discharge.
Check easier and more common causes first.
Step 8: Check for a Continuous Demand for Water
Your RO system may continue producing water because treated water is being used somewhere else.
Check whether the system supplies:
- A refrigerator
- An ice maker
- A second drinking-water faucet
- Another appliance
If an appliance is continuously drawing water, the RO system may continue producing water and sending concentrate water to the drain.
Manufacturers specifically recommend checking connected ice makers when troubleshooting apparent continuous RO drain flow. (North Star Water)
Troubleshooting Tip
Temporarily stop the external demand, following your system manufacturer’s instructions.
Then allow the RO storage tank to fill completely and observe whether the drain flow stops.
Step 9: Inspect the Drain Line and Drain Connection
The drain line itself may not cause continuous RO production, but drain connection problems can create other symptoms.
Inspect for:
- Kinked tubing
- Crushed tubing
- Incorrect tubing routing
- Incorrect drain saddle placement
- Clogged drain tubing
- Misaligned drain connections
Incorrect drain installation can contribute to:
- Excessive noise
- Gurgling
- Slow drainage
- Water backing up
- Faucet air-gap leaks
Manufacturer troubleshooting documentation identifies blocked drain lines, misaligned drain saddles, and improperly routed tubing as potential causes of drain-related problems. (Home Source Systems)
If your system uses an air-gap faucet, follow the manufacturer’s instructions carefully when inspecting the drain tubing.
Excessive RO Discharge Troubleshooting Chart
| Symptom | Possible Cause | Recommended Action |
| Drain water flows while tank is filling | Normal RO operation | Allow the tank to fill and check whether drain flow stops |
| Drain water continues after tank is full | Automatic shutoff problem | Follow manufacturer testing instructions or contact a service professional |
| Tank never appears to fill | Tank pressure, bladder, membrane, or water supply issue | Inspect according to manufacturer instructions |
| Continuous drain flow | Faulty shutoff valve or check valve | Inspect compatible components |
| Very high drain flow | Missing or incorrect flow restrictor | Verify correct manufacturer-approved restrictor |
| RO system connected to refrigerator | Continuous water demand | Check refrigerator or ice-maker demand |
| Gurgling or noisy drain | Drain tubing or air-gap issue | Inspect tubing and drain routing |
| Reduced water production | Fouled filters or membrane | Follow recommended replacement schedule |
Can Excessive RO Discharge Increase Your Water Bill?
Yes.
A properly operating RO system naturally uses water during the filtration process. However, a malfunction that causes continuous water production can result in unnecessary water waste.
EPA specifically notes that a failed automatic shutoff device can allow continued water discharge and increase water waste and associated costs. (EPA NEEPA)
If you suspect your RO system is continuously running:
- Confirm that the storage tank is full.
- Check whether another appliance is demanding water.
- Listen for continuous drain flow.
- Inspect the system using manufacturer troubleshooting instructions.
- Address the problem promptly.
How to Prevent Excessive RO Wastewater
Preventive maintenance can reduce the risk of system problems.
Replace Filters on Schedule
Prefilters protect the RO membrane from sediment and other materials that may reduce performance.
Follow your manufacturer’s recommended replacement schedule.
Replace the RO Membrane When Necessary
RO membranes have a limited service life.
Replacement intervals depend on:
- Water quality
- Water use
- System design
- Pretreatment
- Manufacturer recommendations
EPA notes that membrane replacement can help maintain efficient operation and satisfactory water production and quality. (US EPA)
Inspect the System Regularly
Periodically inspect:
- Tubing
- Fittings
- Drain connections
- Filter housings
- Storage tank
- Shutoff components
Look for:
- Leaks
- Kinks
- Unusual noises
- Continuous drain flow
- Reduced water production
Follow Manufacturer Maintenance Instructions
Every RO system has different:
- Pressure requirements
- Filter configurations
- Membrane specifications
- Flow restrictors
- Replacement procedures
Always use compatible replacement components.
For a complete maintenance schedule, visit the Reverse Osmosis Maintenance Guide.
When Should You Call a Professional?
Consider professional service if:
- You cannot identify the cause of continuous drain flow.
- The automatic shutoff valve requires testing or replacement.
- The storage tank may have failed.
- You suspect a damaged check valve.
- Plumbing modifications are necessary.
- You cannot stop a leak.
- The system continues wasting water after basic troubleshooting.
- You are uncomfortable disconnecting RO components.
A qualified water-treatment professional or plumber can help diagnose problems without damaging system components.
Related Reverse Osmosis Maintenance Guides
This article is part of Revosmo’s Reverse Osmosis Maintenance Guide content cluster.
For additional help, explore:
- How to Install an RO System
- DIY RO Installation
- Hiring a Plumber to Install an RO System
- RO Filter Replacement Schedule
- RO Membrane Replacement
- How to Sanitize Your RO System
- Fixing Low Water Pressure in an RO System
- RO Tank Troubleshooting
- How to Fix a Leaking RO System
- How to Fix a Noisy RO System
- RO Water Taste Problems
- Winterizing an RO System
Each supporting article should link back to the pillar page:
Reverse Osmosis Maintenance Guide
Final Thoughts
Some reverse osmosis drain water is completely normal. Your RO system needs to send concentrate water to the drain while it is actively producing treated water.
The concern begins when the system continues draining after the storage tank should be full or when drain flow appears significantly higher than the manufacturer’s specifications.
The best troubleshooting approach is to work through the system methodically:
- Confirm that the drain flow is truly abnormal.
- Check whether the storage tank is full.
- Make sure another appliance is not demanding water.
- Inspect the storage tank and tank pressure.
- Check the automatic shutoff valve.
- Inspect the check valve.
- Verify the correct flow restrictor is installed.
- Review membrane condition and maintenance history.
- Inspect drain tubing and connections.
Avoid replacing multiple components without identifying the actual problem.
For complete information about maintaining, repairing, and troubleshooting your reverse osmosis system, visit Revosmo’s complete Reverse Osmosis Maintenance Guide.